Controlling devices over serial (RS-232)
Home Assistant Connect AUX-2 has two RS-232 serial ports, Port 1 and Port 2, each on a 3.5 mm jack. Use them to control TVs, AV receivers, projectors, UPS units, climate controllers, and Modbus-capable devices. For signal levels, see Specifications.
Warning
Connect serial equipment to RS-232 Port 1 or Port 2 only, never to the 3.5 mm audio output. The serial ports carry ±5 V and can damage audio equipment. See the port warning in Ports and controls.
Prerequisites
- Connect AUX-2 set up in Home Assistant through the ESPHome integration. See Set up Home Assistant Connect AUX-2. Each serial port then appears in Home Assistant as a serial proxy.
- A Home Assistant integration for your device that supports serial proxies. See Check device compatibility.
- A cable from the 3.5 mm jack to your device's serial port. See Cabling and adapters.
Connect your device
- Connect the serial port of your device to RS-232 Port 1 or Port 2.
- Set the TX/RX switch for that port if your device needs a specific position. Samsung TVs need X, the factory setting. LG TVs need II.
- In Home Assistant, add the integration for your device, for example Denon, LG, or Samsung.
- During setup, select the Connect AUX-2 port from the list of serial ports.
If your device doesn't respond, try the other TX/RX switch position.
Check device compatibility
Find the integration for your device in Home Assistant's list of serial-controlled integrations, then add it. Integrations that support serial proxies let you pick the Connect AUX-2 port from a list during setup.
Examples of integrations that support serial proxies:
- Denon RS-232, for Denon receivers
- LG TV via Serial, for LG TVs. Set the TX/RX switch for the port you use to II.
- Samsung TV via ExLink, for Samsung TVs. Set the TX/RX switch for the port you use to X, the factory setting.
Community integrations
Community integrations are made and maintained by their developers, outside Home Assistant. Community integrations for serial devices:
- Nuvo multi-zone amp
- 12-zone amp + SiriusXM tuner
- NAD T755 / T757 receivers
- BenQ projector
- Arcam hi-fi
- Thessla Green AirPack ventilation
Cabling and adapters
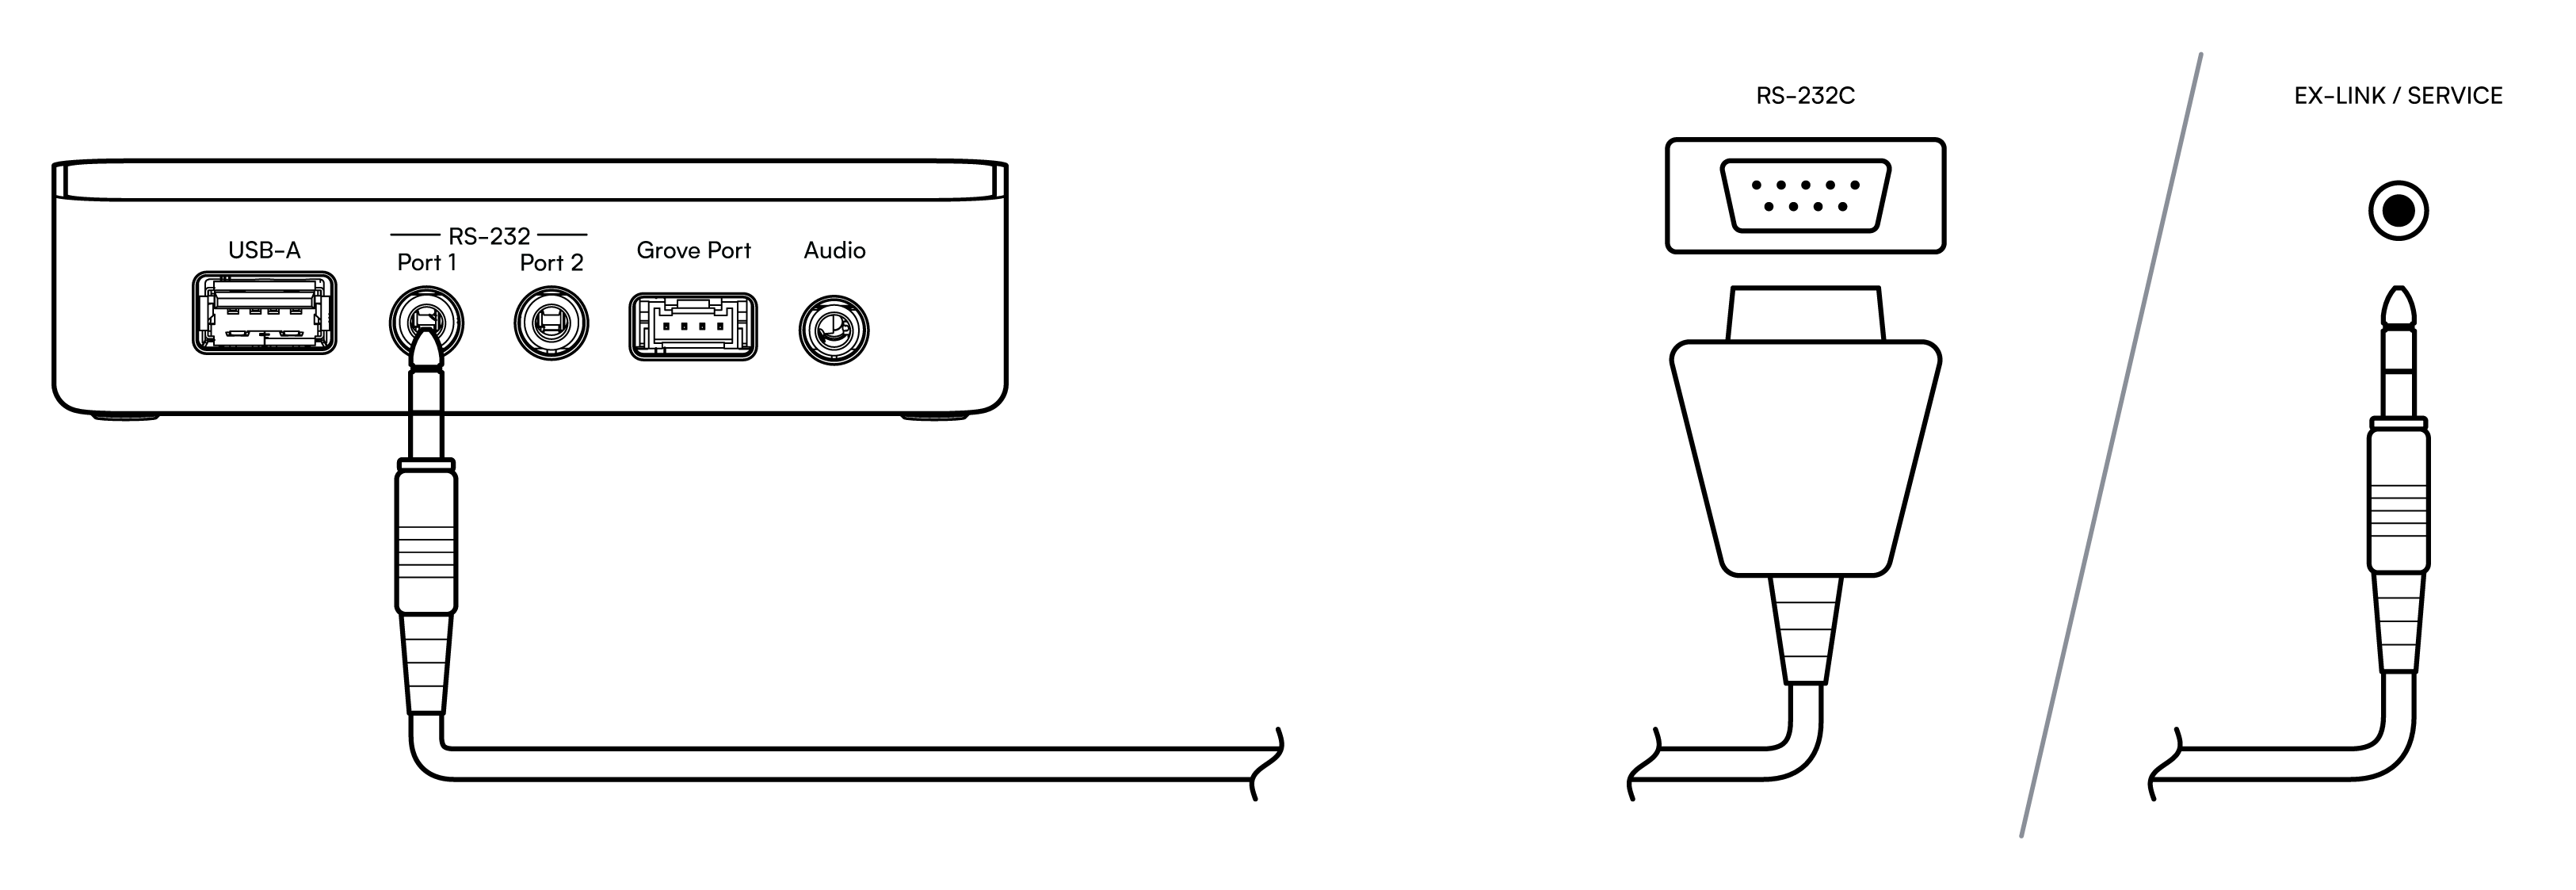
Many devices need a converter cable from the 3.5 mm jack to the device's connector, for example DB9, RJ45, RJ9, mini-DIN, or terminal.
Use a cable with a 3-conductor (TRS, stereo) 3.5 mm plug. The sleeve is ground, and the tip and ring carry transmit and receive. A mono (TS) plug has only two contacts and can't carry all three. If the serial connection doesn't work, see The TX/RX switch.
Common connections are a DB9 serial port, usually labeled RS-232C on AV receivers and projectors, or a 3.5 mm serial jack on TVs. Samsung labels the 3.5 mm jack EX-LINK. Other brands label it SERVICE or RS-232C.
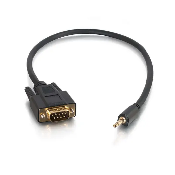
To connect to a DB9 serial port, use a 3.5 mm to DB9 serial adapter cable such as the Legrand 3.5 mm to DB9 RS-232 adapter cable. Check that the DB9 end has the correct gender for your device.
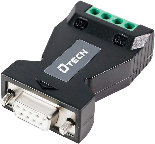
To connect a device that uses RS-485, add an RS-232 to RS-485 adapter. This adapter, combined with the DB9 cable above, has been used to connect Modbus devices.
For RS-485 without an inline adapter, you can also use a USB-to-serial dongle in the USB-A port. See Using a USB-to-serial dongle.
The TX/RX switch
Pin assignment varies between devices. Each serial port has a switch on the underside of Connect AUX-2 that swaps the transmit and receive lines. If your device doesn't respond, try the other switch position.
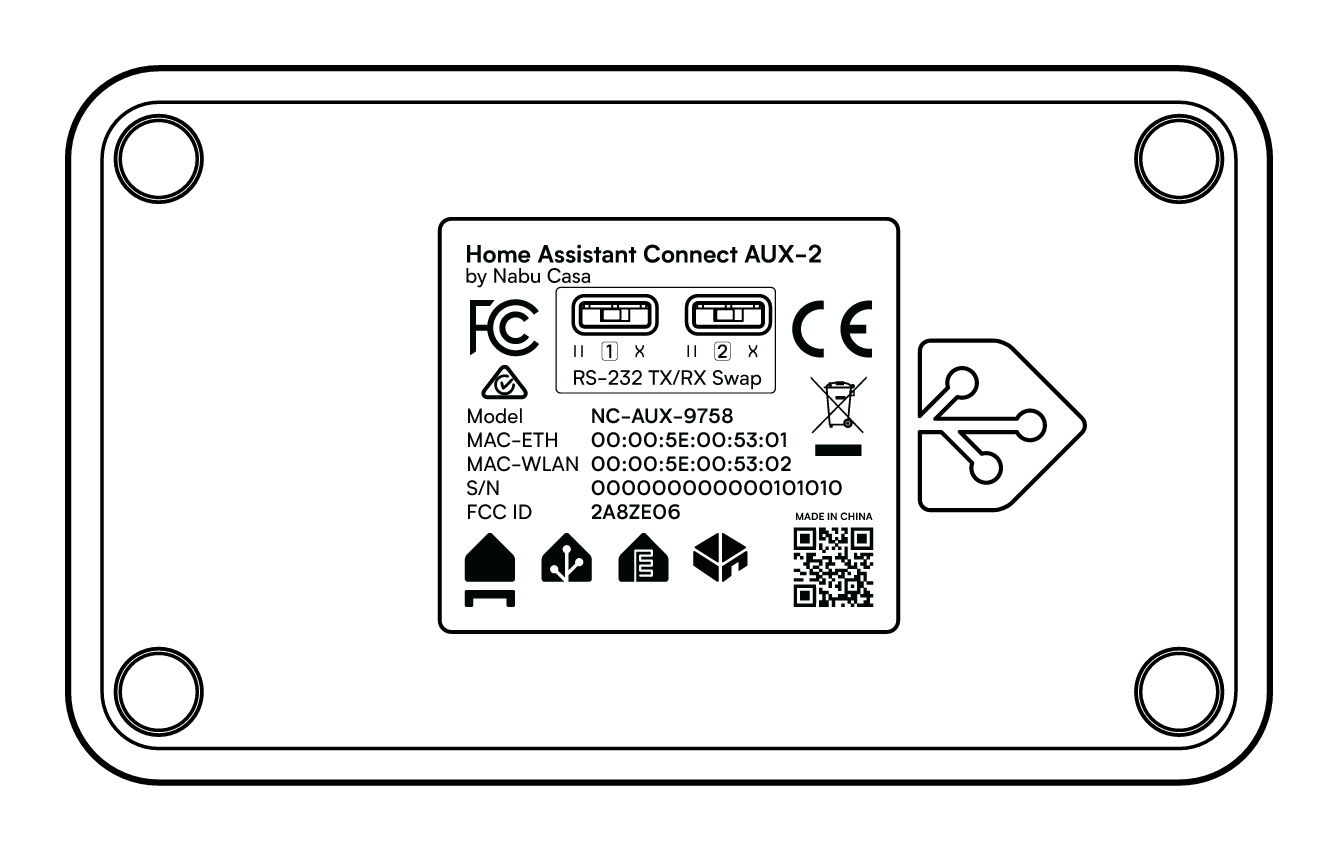
The switches are labeled RS-232 TX/RX Swap, and numbered 1 and 2 to match the ports. Each switch has two positions:
- X (crossover): transmit and receive are swapped. Both switches are set to this position at the factory.
- II (straight-through): transmit and receive are passed straight through.
Modbus
To connect a Modbus device over RS-485, such as a solar inverter, see Using Connect AUX-2 with Modbus devices.